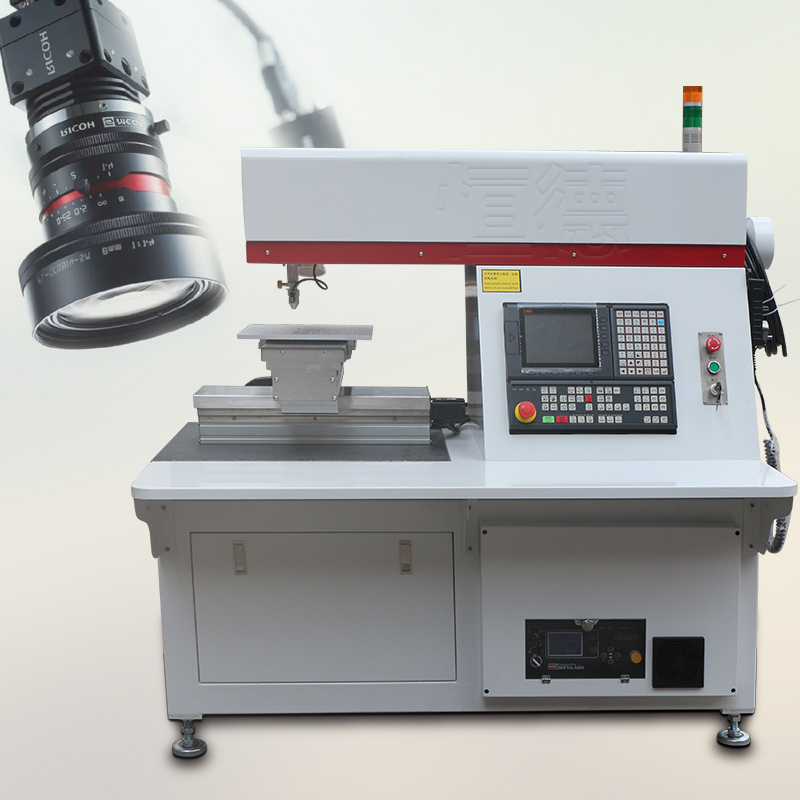
Debugging method for cutting accuracy of laser cutting machine
As an emerging industry, the laser cutting machine series equipment has broad development prospects. Several developed countries, represented by the United States, Germany, and Japan, have achieved astonishing development speed in the field of laser processing industry. They have basically completed the replacement of traditional processes with laser processing technology in major large-scale manufacturing industries such as automobiles, electronics, machinery, aviation, and steel, entering the era of "optical manufacturing". The large metal fiber laser cutting machine has the advantages of good energy density controllability, narrow cutting seam, small workpiece deformation, good cutting surface quality, unlimited cutting shape, and non-contact processing. The low cost, high efficiency, and enormous potential of laser processing in industrial manufacturing have become the driving force for competition among major industrial countries around the world. Laser technology has been actively supported as an important cutting-edge technology in their own countries, and national level laser industry development plans have been formulated. In China, laser processing technology has gradually entered various manufacturing industries, increasing the technological content of products, accelerating the speed of updates, achieving agile manufacturing, and meeting the market's demand for "personalized" products.

【 Laser cutting machine cutting accuracy debugging method one 】
When the focal point of the laser is set to the minimum, the initial effect is established by spot shooting. The focal length position is determined by the size of the spot effect. As long as we recognize that the laser has reached the minimum point, this position is the optimal processing focal length, and then the processing work begins.
【 Laser cutting machine cutting accuracy debugging method 2 】
In the first part of debugging the CO2 laser cutting machine, we can use some test paper and workpiece waste to determine the accuracy of the focal length position by spot shooting. By moving the position of the up and down laser head height, the size of the laser spot will change differently during spot shooting. Multiple adjustments are made to different positions of the laser equipment to find the smallest spot position to determine the optimal focal length and laser head position.
【 Laser cutting machine cutting accuracy debugging method three 】
After the installation of the fiber laser cutting machine, a marking device will be installed on the cutting nozzle of the CNC cutting machine. Through the marking device, a simulated cutting pattern will be drawn, which is a 1m square. Built in a circle with a diameter of 1m, diagonal lines are drawn on each corner. After drawing, use a measuring tool to measure whether the drawn circle is tangent to the four sides of the square. Is the length of the diagonal of a square √ 2 (the data obtained from the square root sign is approximately 1.41m)? The central axis of the circle should divide the sides of the square equally, and the distance from the intersection of the central axis and the two sides of the square to the intersection of the two sides should be 0.5m. By testing the distance between the diagonal and the intersection point, the cutting accuracy of the laser equipment can be determined.
Hengde laser cutting machine manufacturer produces direct sales, welcome to call 0769-87861918 for consultation!
- 上一篇:Hengde Laser Company Innovates 2019/7/29
- 下一篇:How is the quality of the lase 2017/7/22
